
Configuring Slack
This document provides detailed instructions for configuring Slack in channels-connector
Prerequisites
- Active Slack workspace
Step 1: Create application
- Navigate Slack API console.
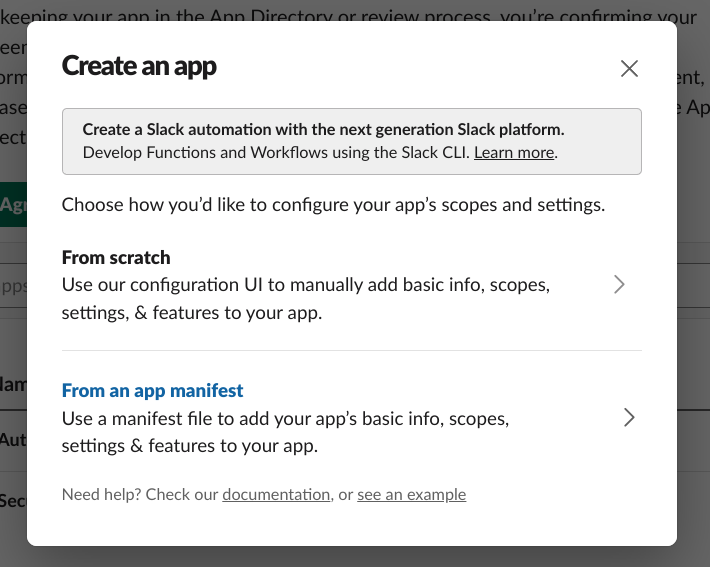
- Click
Create a new app. - In the popup please select From an app manifest
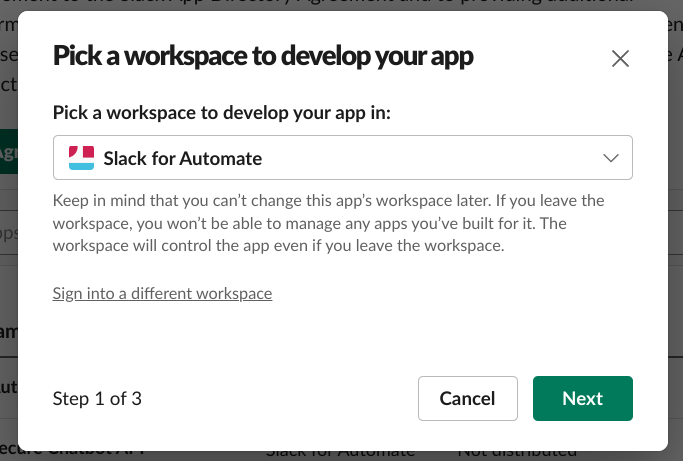
- Select workspace you want your Bot app to work in and click Next
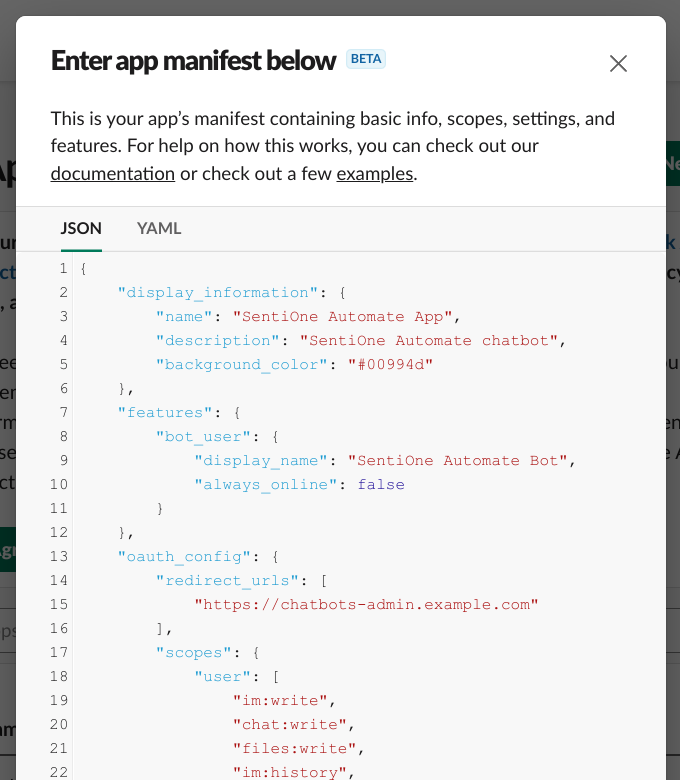
- In the popup that will be shown please paste following JSON file
   {
    "display_information": {
        "name": "SentiOne Automate App",
        "description": "SentiOne Automate chatbot",
        "background_color": "#00994d"
    },
    "features": {
        "bot_user": {
            "display_name": "SentiOne Automate Bot",
            "always_online": false
        }
    },
    "oauth_config": {
        "redirect_urls": [
            "https://chatbots-admin.example.com"
        ],
        "scopes": {
            "user": [
                "im:write",
                "chat:write",
                "files:write",
                "im:history",
                "users:read"
            ],
            "bot": [
                "chat:write",
                "files:write",
                "im:history",
                "im:read",
                "users:read"
            ]
        }
    },
    "settings": {
        "event_subscriptions": {
            "request_url": "https://channels-connector.example.com/webhooks/slack",
            "user_events": [
                "message.im"
            ],
            "bot_events": [
                "message.im"
            ]
        },
        "interactivity": {
            "is_enabled": true,
            "request_url": "https://channels-connector.example.com/webhooks/slack/interactivity"
        },
        "org_deploy_enabled": false,
        "socket_mode_enabled": false,
        "token_rotation_enabled": true
    }
}-
-
Replace https://chatbots-admin.example.com with Public URL of admin application
-
Replace https://channels-connector.example.com with Public URL of channels connector application
-
Replace bot display name and app name if needed with desired values
-
Click Next
-
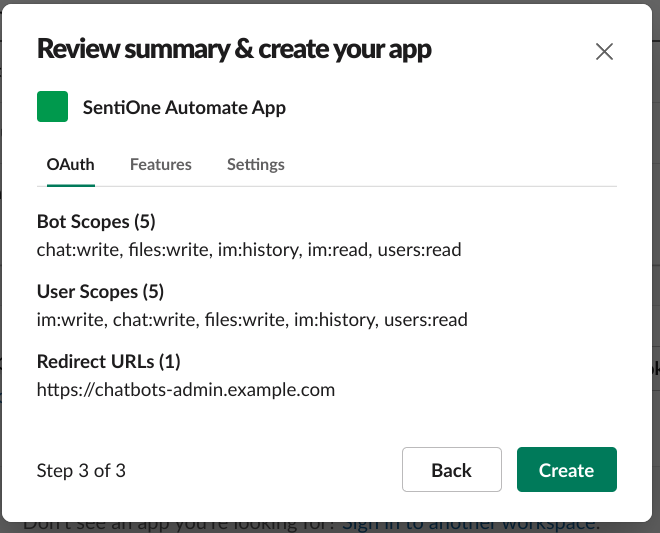
Check all the details in confirmation window
-
Click Create
-
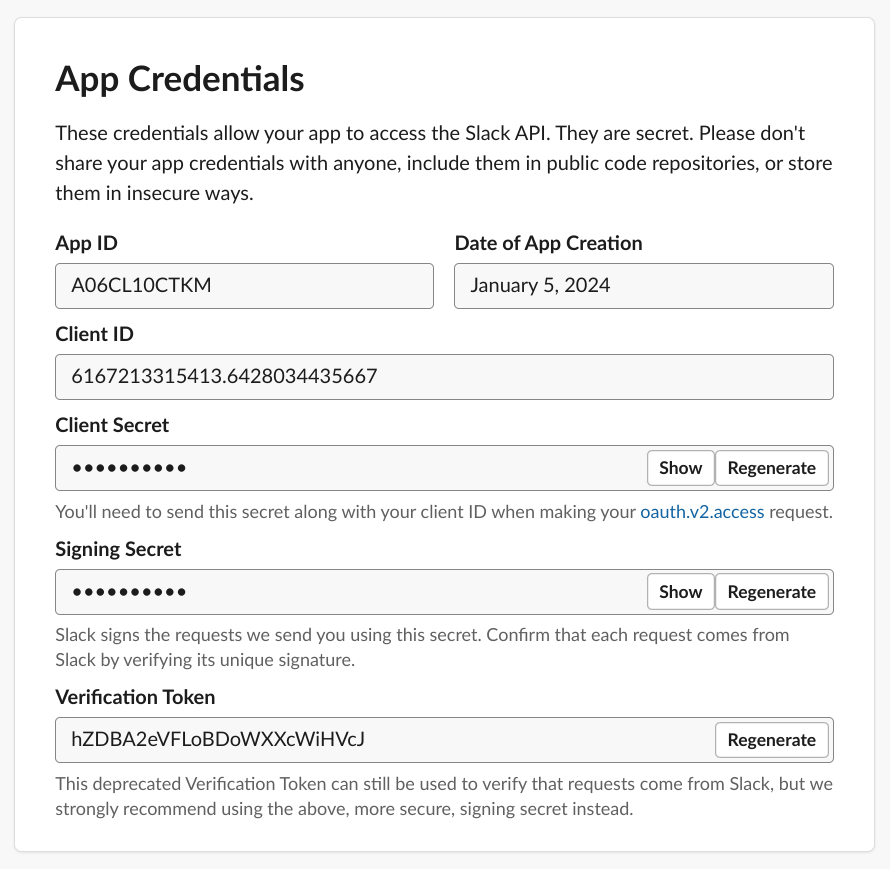
Write down all the secrets from section called App credentials
-
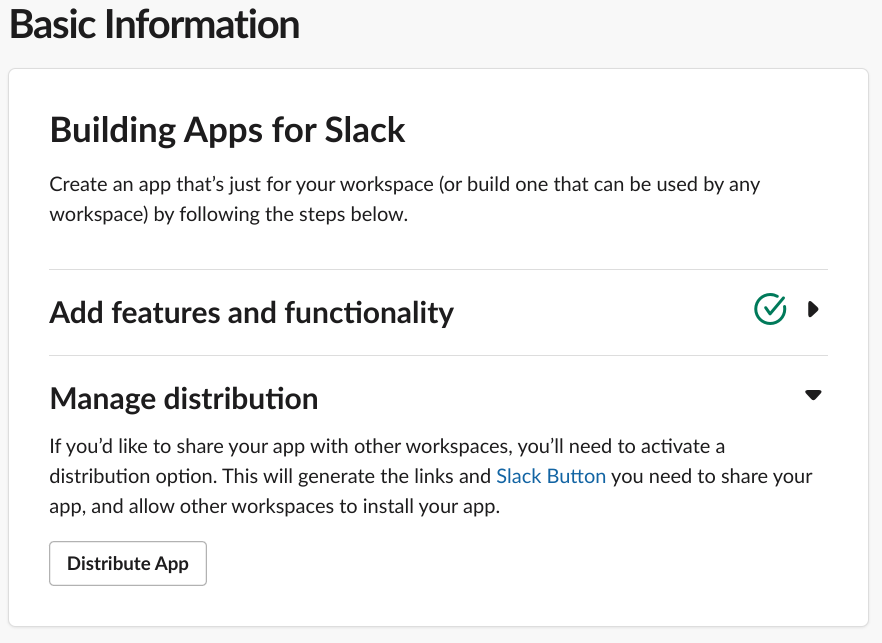
Expand Manage distribution section
-
Click on Distribute App button
-
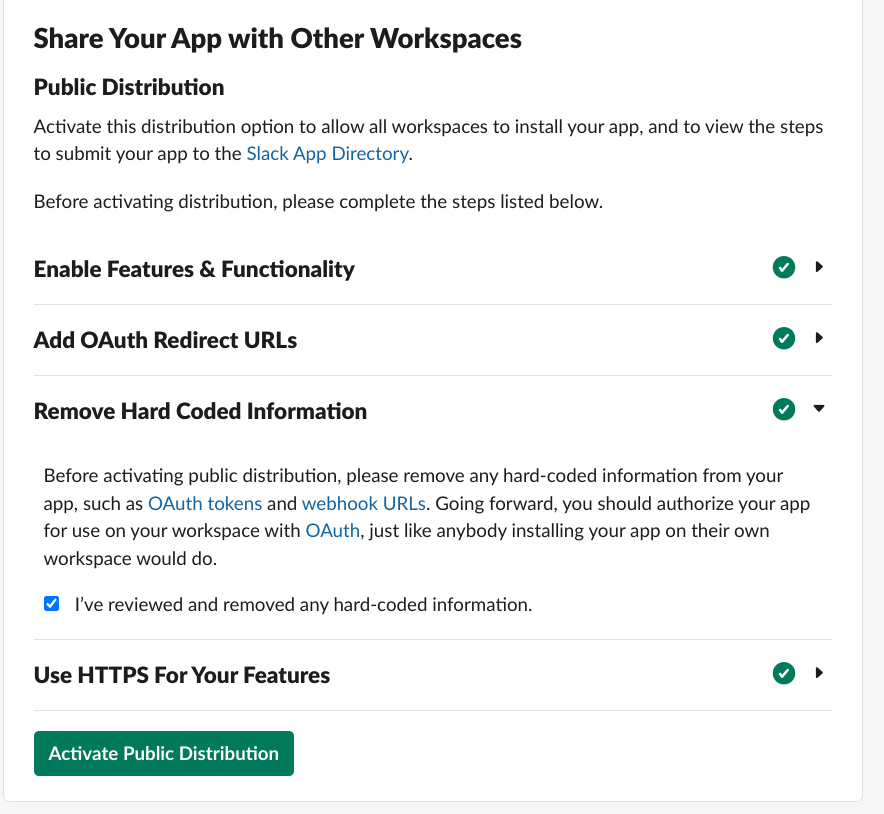
Fill in the form
-
Click on Activate Public Distribution
-
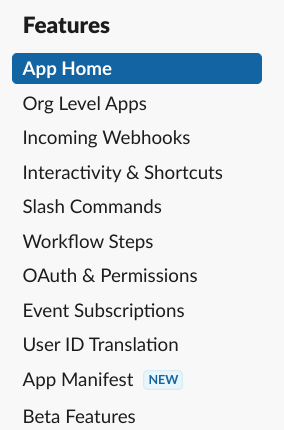
Navigate to App Home section
-
Make sure is Allow users to send Slash commands and messages from the messages tab is selected

Step 2: Configure channels connector application
- Navigate to application configuration repository
- Open following file in text editor of your choice ENV_NAME/kubernetes/helm/automate/values.yaml
- Add following section to the value under key chatbots.config.commonConf
chatbots.channels-connector.slack { enabled: true # Automate Chatbot APP client-id: "PUT_CLIENT_ID_FROM_CREDENTIALS_SECTION", client-secret: "PUT_CLIENT_SECRET_FROM_CREDENTIALS_SECTION" signing-secret: "PUT_SIGNING_SECRET_FROM_CREDENTIALS_SECTION" } - Replace placeholders with values copied from App Credentials section obtained in first section of the guide
- Commit the changes and push to git server
- Deploy config changes to your Kubernetes cluster.
Step 3: Create slack channel
- Follow steps in channel configuration manual
Updated 8 months ago
Did this page help you?